This is the result of the first day of the 30 day 30 minutes challenge. Because I often needed surface roughness annotation in TechDraw drawing in FreeCAD I now finally created one for myself. I have also uploaded it to Github for you to try.
Downloading the surface roughness annotation from Github
Download the surface roughness annotation from github:
https://github.com/alekssadowski95/FreeCAD-TechDraw-Symbol
Right now there is only one surface roughness annotation. But I may add more in the future.

Creating and Modifying a balloon annotation on a TechDraw Drawing page
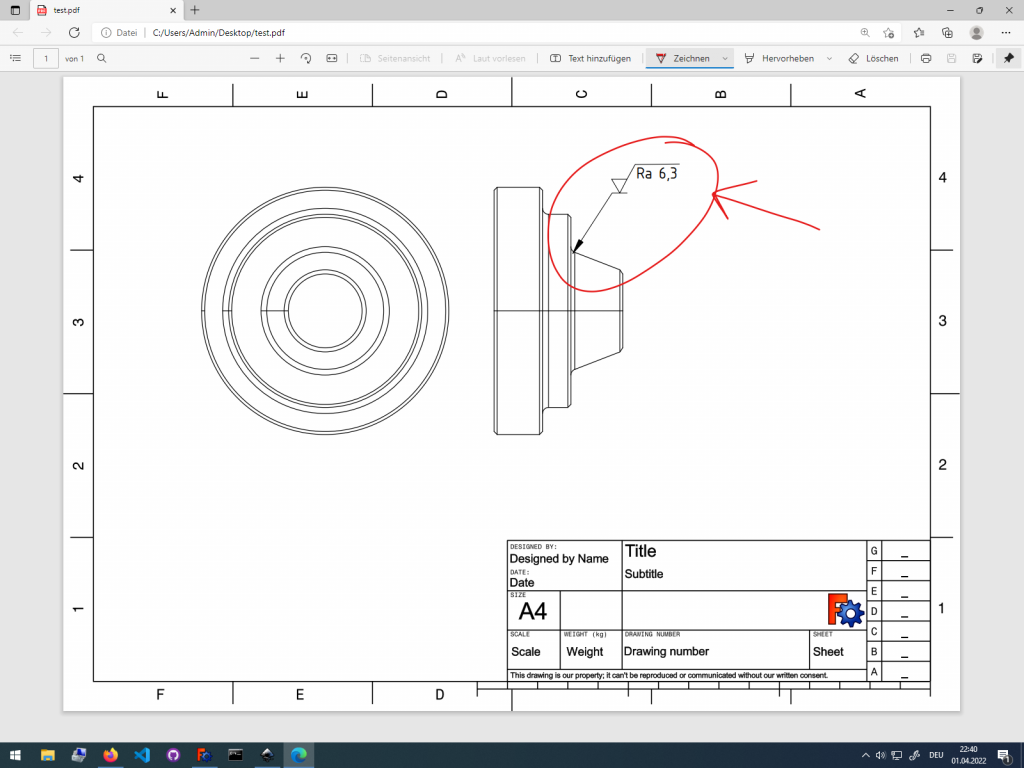
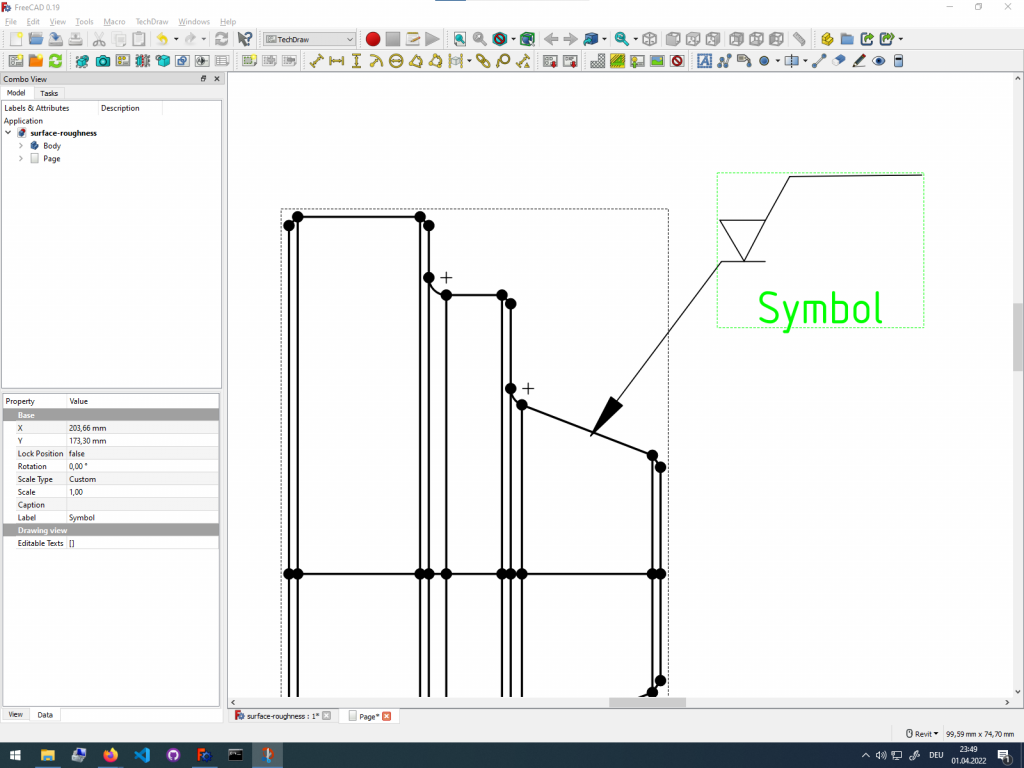
To annotatate an edge of a part projection in TechDraw first create a Balloon Annotation. This symbol does not look like its useful for this application for just follow my instructions. Attach the Balloon Annotation to the edge or point that you want to define your surface roughness on.
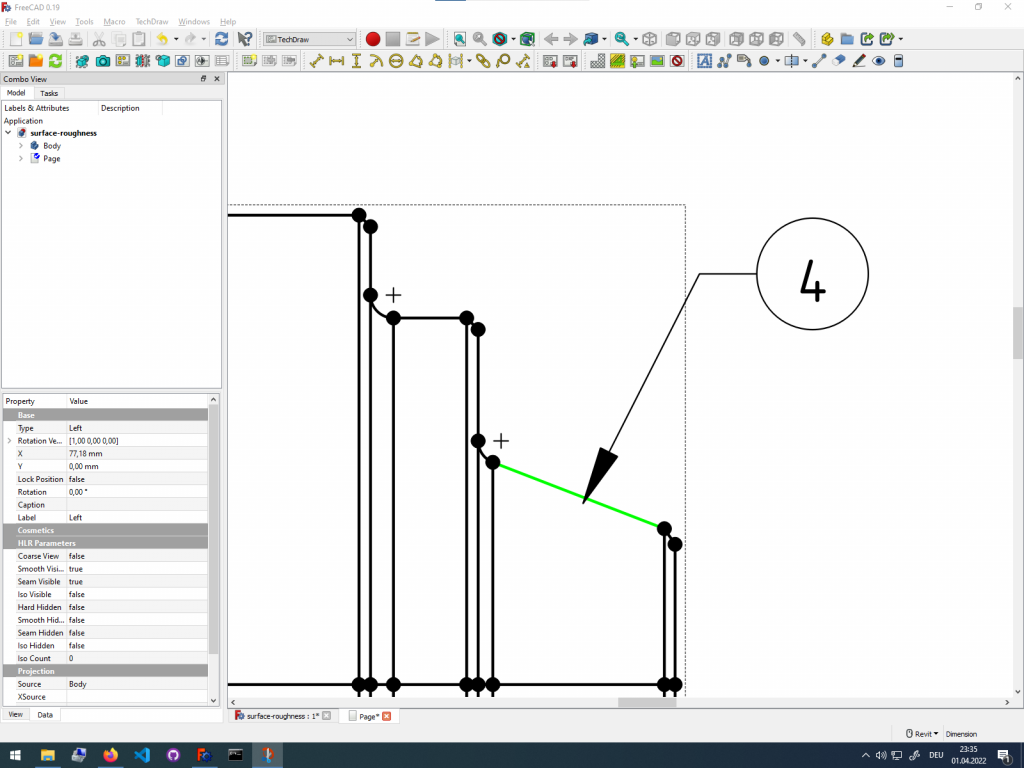
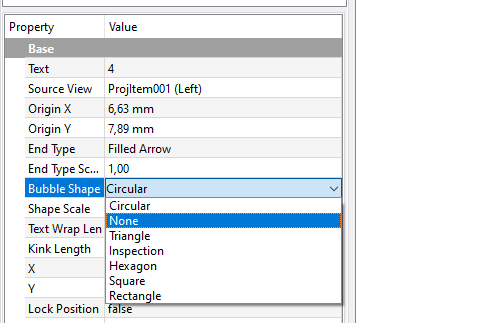
Now remove the balloon from the Balloon Annotation in the Data tab. You need to select the Balloon Annotation to see the option in the Data tab.
Now also remove the text from the Balloon Annotation in the same Data tab.
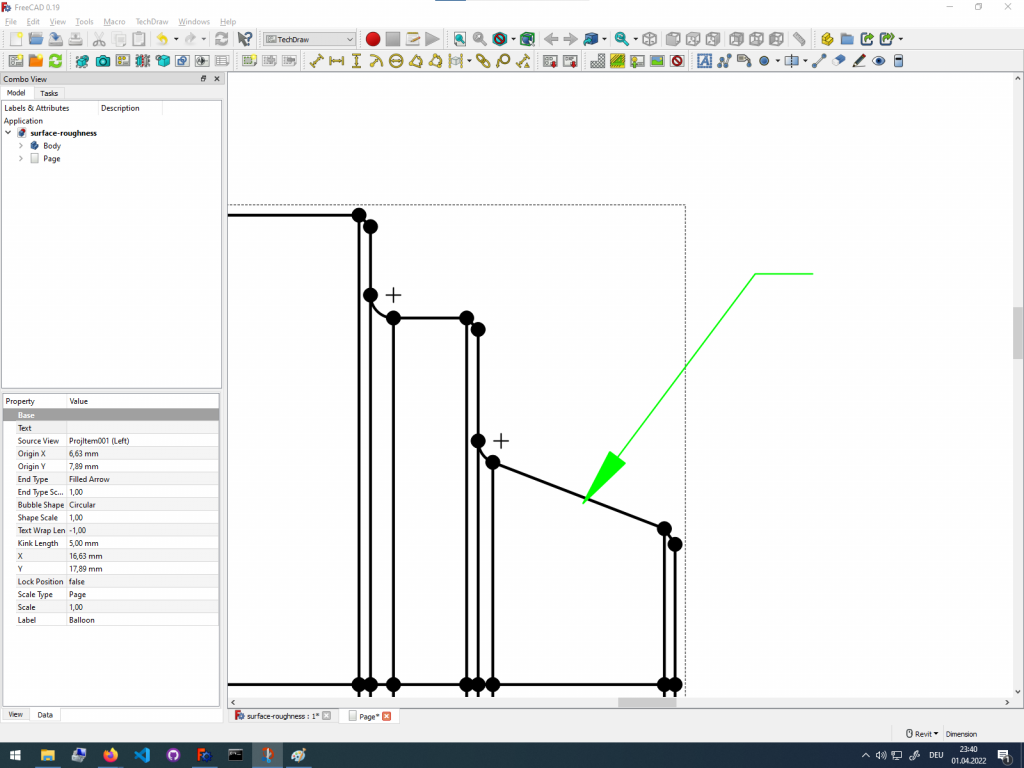
You have created an arrow annotation from modifying the Balloon Annotation. Next you will import the downloaded surface roughness symbol.
Importing the surface roughness annotation onto TechDraw Drawing page
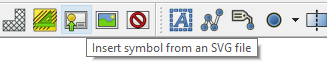
We will now add the downloaded surface roughness symbol to the arrow.To import the Unzip the downloaded surface roughness symbol from the zipped-folder. Then import the surface roughness svg. Select the surface roughness symbol in the dialog. To find the symbol navigate to where you unzipped it.
After importing the surface roughness symbol move it just above the arrow annotation so it touches the line.
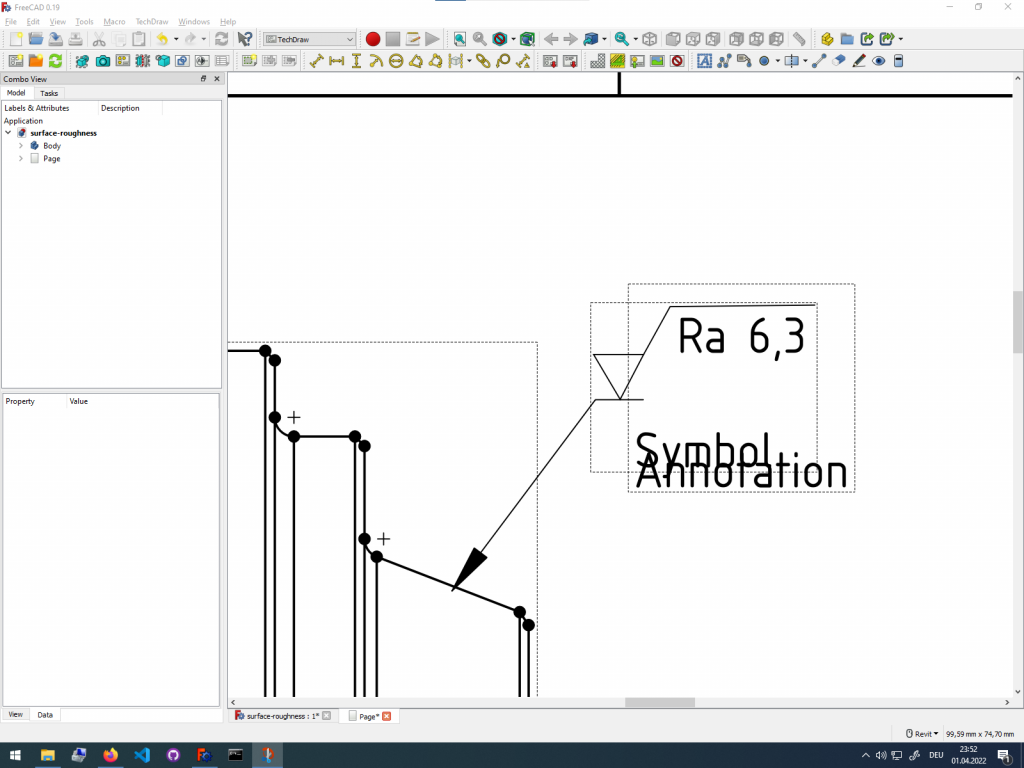
Adding surface roughness parameters
As the last step you need to add surface roughness parameters to the surface roughness annotation. To define the parameters create a normal Text Annotation in TechDraw and change the text to the desired value. Move the text annotation with the surface roughness definition just below the surface roughness symbol, like shown in the following image.
You have now successfully created a surface roughness annotation on your TechDraw drawing page. To create more surface roughness annotations, repeat the steps we have go through together.
Getting Started with FreeCAD
Jumpstart your first 3D CAD project with the open-source software FreeCAD and this illustrated step-by-step guide.

Exploring newest story
- Learning from scratch how to create custom features in FreeCADThis will give you an overview on how to get started with developing custom FreeCAD features. To get started follow the Create a FeaturePython object part I tutorial on the FreeCAD wiki. The examples in this blogpost are from the tutorial in the FreeCAD wiki. Setting up the folder structure for the custom feature project… Read more: Learning from scratch how to create custom features in FreeCAD
2 replies on “Creating Surface Roughness Annotation in FreeCAD TechDraw”
[…] You can now test and use your newly created Annotation in TechDraw technical drawings. To learn how you can insert the symbol on your drawing follow the steps here: https://stories.alsado.de/creating-surface-roughness-annotation-in-freecad-techdraw/ […]
[…] You can learn how to apply those surface roughness and edge break annotation symbols to your TechDraw manufacturing drawing in a previous blog post Creating Surface Roughness Annotations. […]