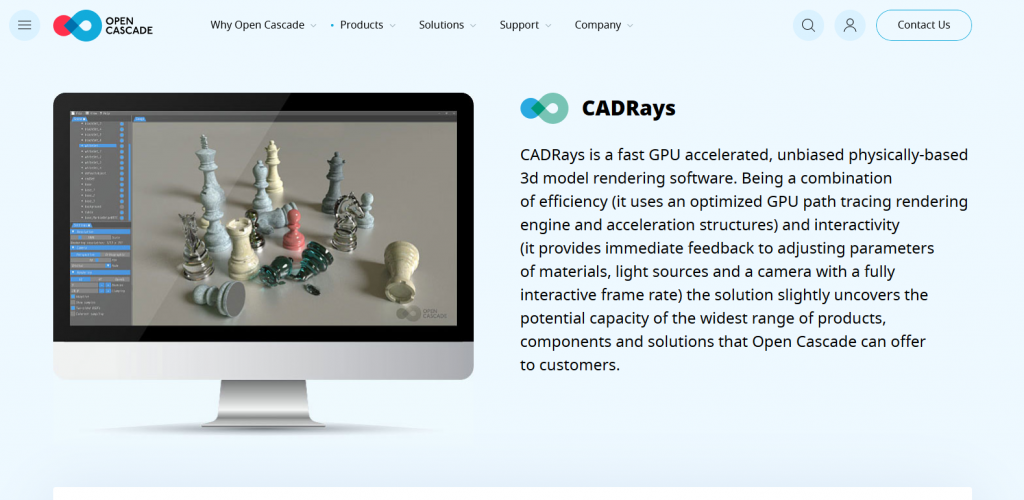
Installing CADRays on Windows for rendering Solid CAD models
To install CADRays on Windows download the installer and run it. After the installation is finished you can open CADRays.
Preparing FreeCAD models for import into CADRays
To import FreeCAD model into CADRays yo uneed to save them in the STEP file format. You can do that by first sleecting the bodies you want to export in FreeCAD.
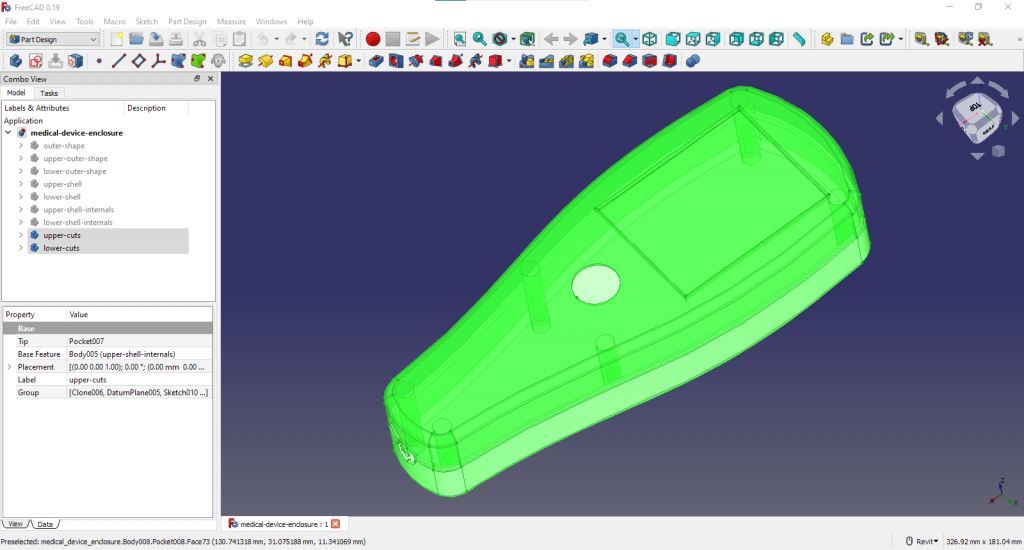
After you selected the bodies, that you want to export use Export… in the file menu.

Setting up the Scene in CADRays
First start up CADRays
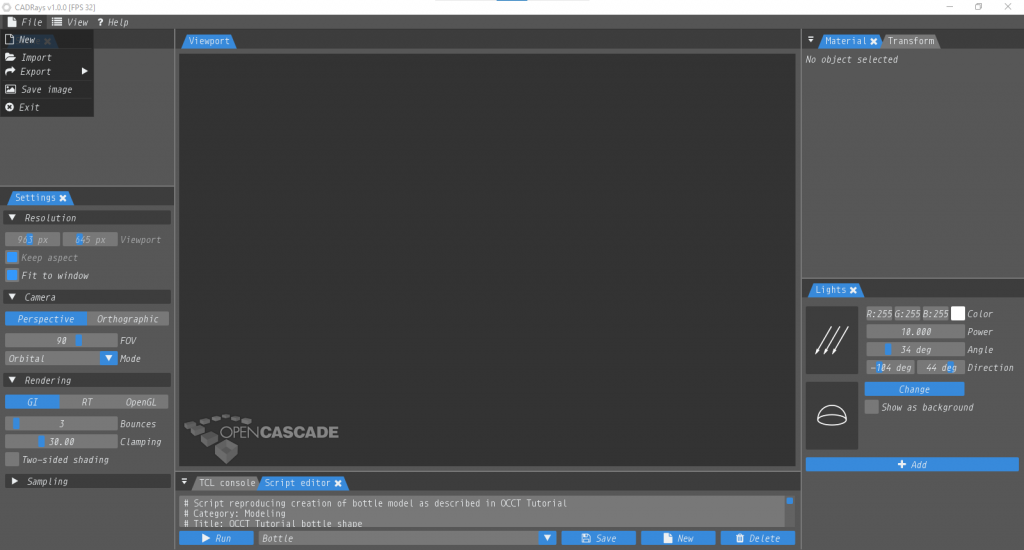
Import your step file, that you exported from FreeCAD. The 3D model will be represented with the default environment and material.
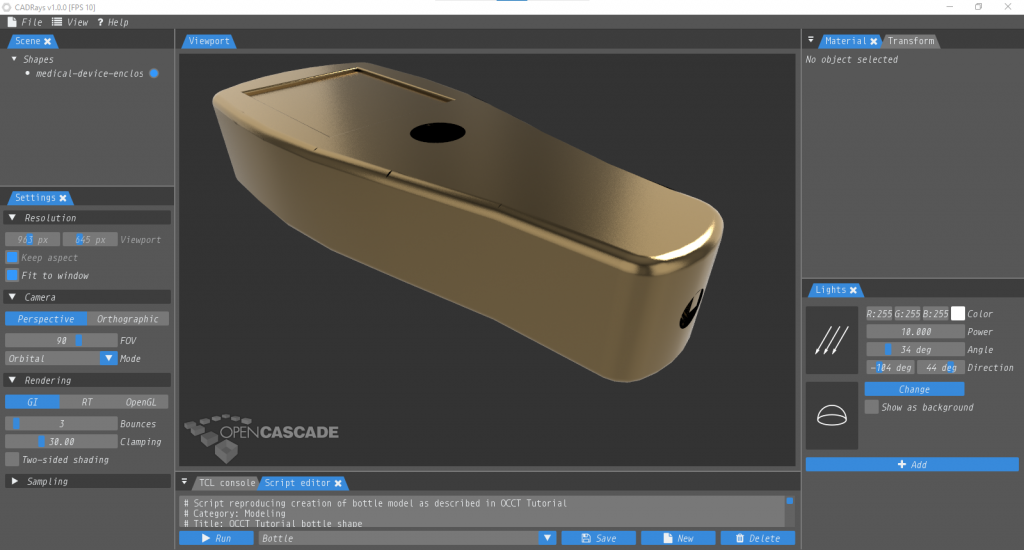
To render your 3D model you need to setup the scene. This includes the environment and the material of your 3D model. There are presets available from both of those in CADRays., so no need to manually tweak settings of materials.
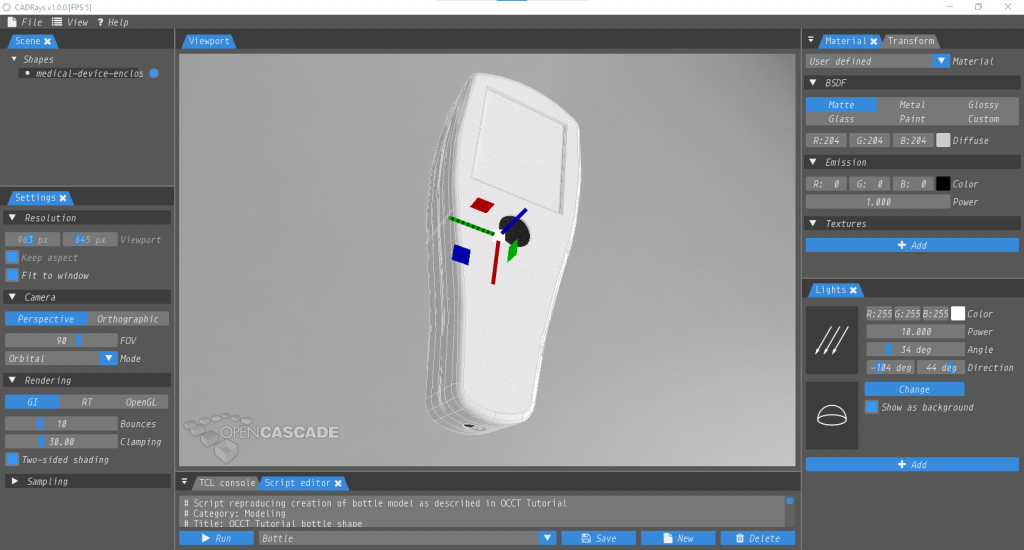
Applying a material to the CAD model
In this example we are going to apply a matte material to the medical device enclosure representing the white plastic that its manufactured in.
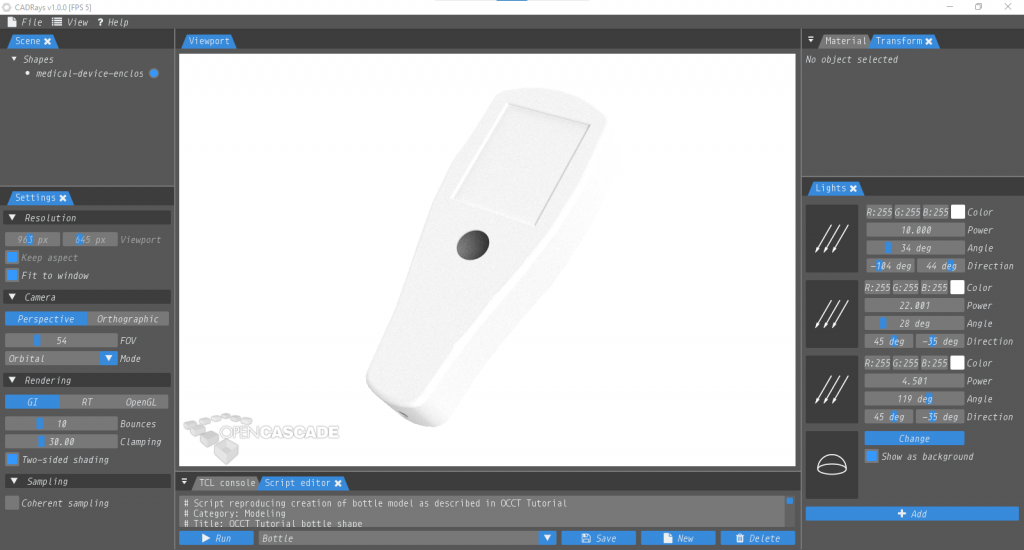
Setting up the lighting environment
There is already a standard environment configuration present. I want the light to also shine into the cutout on the front of the enclosure. This way its going to be better recognized as such. I also want to show the inner structure of the enclosure that way.
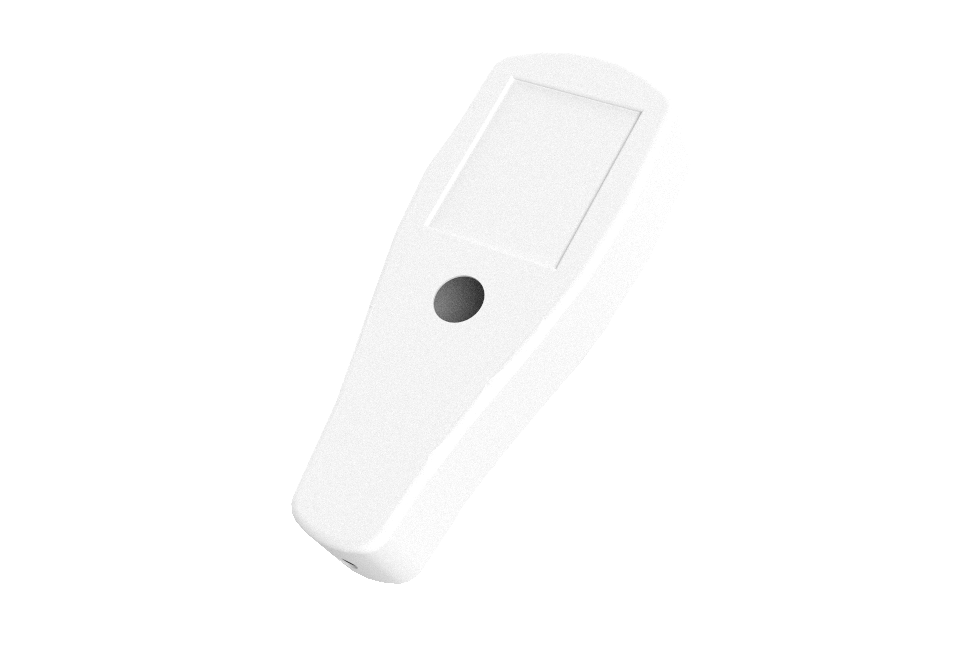
Rendering the final image of an electronics enclosure in CADRays
After you have setup the scene with your desired environment and material you can finally create your render.
Rendering may take some, depending on the power of your computer. After rendering has finished, you will have your image with your part or product that you want to visualize for demonstrations ready.
Getting Started with FreeCAD
Jumpstart your first 3D CAD project with the open-source software FreeCAD and this illustrated step-by-step guide.

Exploring newest story
- Learning from scratch how to create custom features in FreeCADThis will give you an overview on how to get started with developing custom FreeCAD features. To get started follow the Create a FeaturePython object part I tutorial on the FreeCAD wiki. The examples in this blogpost are from the tutorial in the FreeCAD wiki. Setting up the folder structure for the custom feature project… Read more: Learning from scratch how to create custom features in FreeCAD